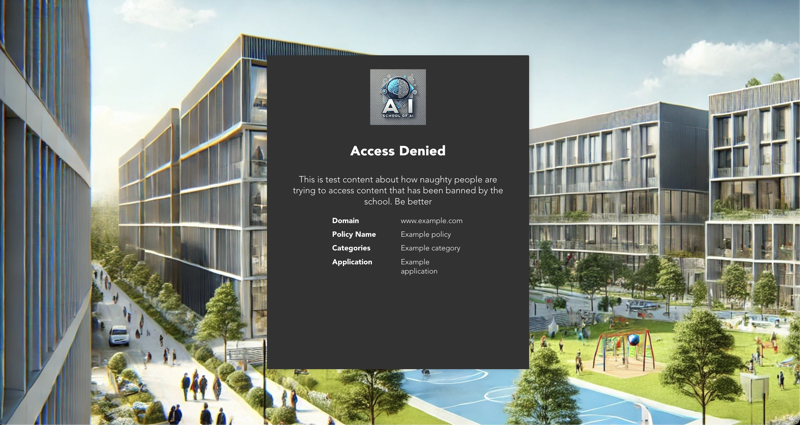
Custom Block Pages
System administrators can design and implement customised block pages, providing a tailored and branded user experience for network access restrictions. Block pages can be configured to align with the organization's aesthetic and functional requirements, including custom logos, backgrounds, CSS and messaging.
To create a custom Block Page page go to Security Centre > Block Page.
Upload Images
To add a custom logo to the Block Page go to Authentication > Block Page > Block Page Customisation;
- Upload the logo image
- Upload a background image
- If required, add a custom message to be displayed on the block page.
- Click "Save"
- To preview the block page in the browser, click "Preview". Note, you are not required to save and apply changes to preview the page
- To publish the new captive block page,
- Click "Save" and "Apply Changes"

Tip
You are note required to save and apply changes to preview the page
Note
- Supported file formats include .jpg, .jpeg, .png
- The maximum supported image size is 2MB
Custom CSS
To create a more personalized Block Page, you can incorporate your own CSS. To do this, navigate to Authentication > Block Page > Block Page Customization > CSS Override:
- Click "Edit"
- Add the new CSS
- Click "Ok"
- Click "Save"
- To preview the block page in the browser, click "Preview". Note, you are not required to save and apply changes to preview the page
- To publish the new Block Page page, click "Save" and "Apply Changes"
Restore Defaults
To revert to the default CyberEdge Block Page page, delete the uploaded images and CSS Overrides, click "Save" and "Apply Changes"